Step One: Do not be intimidated. If I can brew beer, you can brew, too! That said, I’m definitely going to advocate that you speak to someone who works at a homebrew supply store before you do any of this. Please.
First, it’s important to know that there are ALOT of steps in this process. There’s also a bunch of waiting. So, if you want to drink the fruits of your labor anytime soon, you should make lemonade or something that lends itself to immediate gratification. Today, Jason and I completed the first of three different stages. That’s all!

As you may know, there is a lot of weird equipment required to brew your own beer. There are ways to shortcut it, but in reality, the things you find in homebrew stores are not all that much more expensive that what you could invent to do the same job. For today, all we will need is a stockpot large enough to boil 2 gallons of water (I use this enameled one, but stainless steel is better if you have it), a 5 and 1/2 gallon food-grade bucket, a top with a hole and gasket (again, these things are all easily available at a homebrew store), a long thermometer, and a muslin bag. (I forgot to put it in the picture, but you’ll also need a bubbler airlock that goes in the hole on the lid, you’ll see that later.) That’s it for today’s equipment.
Let’s talk ingredients. There are four main bases you have to cover to make a brew. Malt, hops, yeast, and grains. What kinds of each of these you choose all depends on what kind of beer you are making. The kind of beer depends on what time of year (and the temperature of the room you are keeping it in). Generally, you make the sort of beer you would want to drink in that time of year. So–December is for porters and stouts. Early summer is for IPAs and pale ales, and dog days of summer are good for wit beers or belgians. Generally, a brew makes 5 gallons of beer, which comes out to about 50 regular-sized bottles.
We’re making a dry-hopped rye IPA.

Malt. Here’s the scoop: You can make your own malt from just grains. But, this takes lots of time. So we used malt extract. There are different kinds that correspond to each type of beer. (Your homebrew guy can tell you which one you need.) The amount of malt that you use does not equal malty beer flavor. The malt controls the alcohol content of the beer. We wanted to be in the 6.5-7% range, so we needed to use this much malt. We used liquid for the majority (each jar is 3.3 pounds) and then supplemented with dry (1 pound each). Simple as that!

HOPS! They’re my favorite part. They all have fancy names, and again, the homebrew guy can give you a “hop schedule,” which will tell you exactly what kind of hops you need and when to add them. We have a bunch of different kinds (Warrior, Centennial, Williamette) because we are making a hoppy beer! Other (less hoppy) beers will require fewer ounces and kinds.
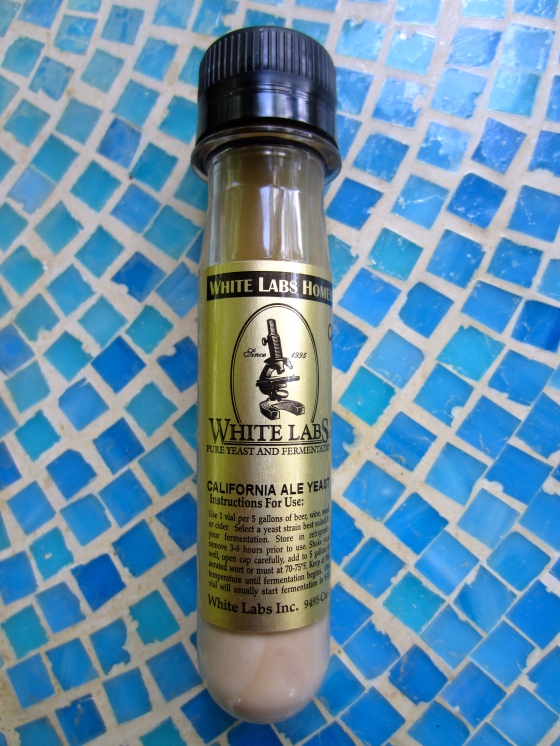
Yeast. This is where the magic happens. We have always gotten liquid yeast, but dry is also simple to use. Again, the brew store guy told us to get this one. Ask for something forgiving and hard to kill. Trust. We got California Ale Yeast.
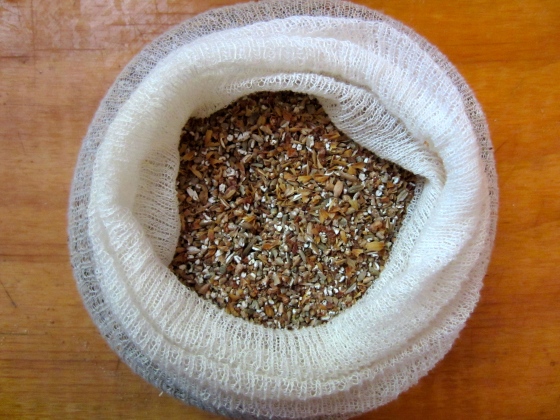
Grains. Again, the types of grains are determined by what kind of beer you’re brewing. We are using a pound of Rye, a half pound of Caramel 10 and a half pound of one that’s just called Biscuit. Homebrew guy can help you. He’ll also probably run them through a mill for you. If not, you can break them up with a rolling pin and a large plastic bag.
You’re also going to need to gather 5 gallons of distilled water. Put 2 gallons into the refrigerator.
Let’s get started!
-Put 2 gallons of distilled water into a large stockpot over medium heat.
-Put all of the grains into a muslin bag and tie off the top.
-Hang the bag into the water using a spoon, like so. This keeps the grains from touching the bottom of the pot and burning.

-Wait until the water reaches 155-160 degrees F. We’re making a tea that will serve as the base for the rest of the wort (that’s what this concentrated mixture will be called).
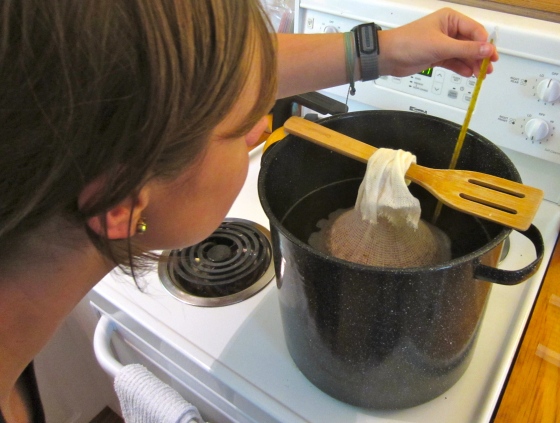
-Once the temperature has reached the 155-160 degree range, make sure it stays there. It should never boil. Steep the tea for one full hour. (The time starts when the water first reaches 155-160 degrees.)
-When the hour is up, remove the bag and squeeze out the excess water.
-Remove the pot from the heat.
-Stirring constantly, pour in all of the malt extract (liquid, powder, or both).
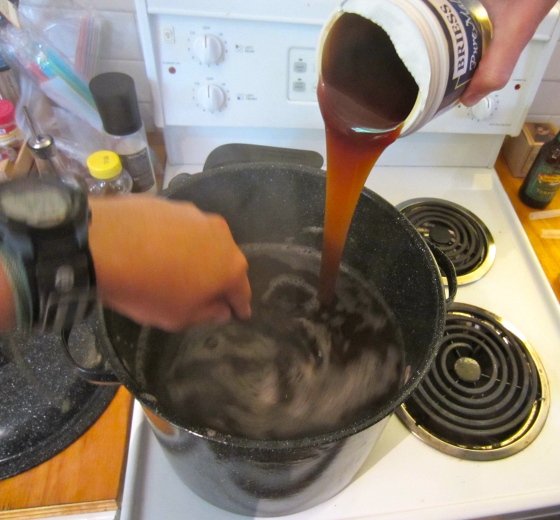
-Once all of the malt is poured in, return the pot to the burner and increase the heat to high. For the next hour, the wort should be stirred constantly. Again, start the hour when the wort gets up to heat. This prevents the malt from sticking to the sides and bottom of the pot (which it will try to), and prevents the wort from ever coming to a full boil. It should be hot enough to boil, but controlled by stirring.
 -The wort will boil over. Don’t freak. It’s just gonna happen, and it’s just gonna be messy. I think ours did right after this picture was taken.
-While you’re doing all this stirring, your “hop schedule” becomes important. It will tell you how often to add each kind of hops. By the end of this hour, all the hops will be incorporated into the wort. (With the exception of dry hops, which come into play much later.) The hops will probably be in pellet form, packaged by the ounce. They look like rabbit food and they smell AWESOME.
-Follow your hop schedule, and remember to stir constantly.
-While your brewing partner is stirring, plug the sink and fill it about halfway with cold water.
-After an hour of stirring the wort (and after all the hops are incorporated), remove the pot from the heat and set it into the sink full of cold water. Pour ice in the water surrounding the pot.

-Using the thermometer, wait until the wort has gone down to about 110 degrees. (This temperature was appropriate for us because we were shooting for a final temperature of between 70-75 degrees–that is the range that our yeast requires. It will tell you on the yeast container what range you need to be in. So, because we needed this wort plus 2 gallons of refrigerated water and one of room temperature water to end up at 70-75 degrees, we figured that 110 for the wort would be about right.)
-While the wort cools, sanitize your 5 and 1/2 gallon bucket using a sanitizing solution (also available at homebrew stores).
-When the wort reaches 110 degrees (or whatever temperature you estimate you’ll need), pour it into the bucket.
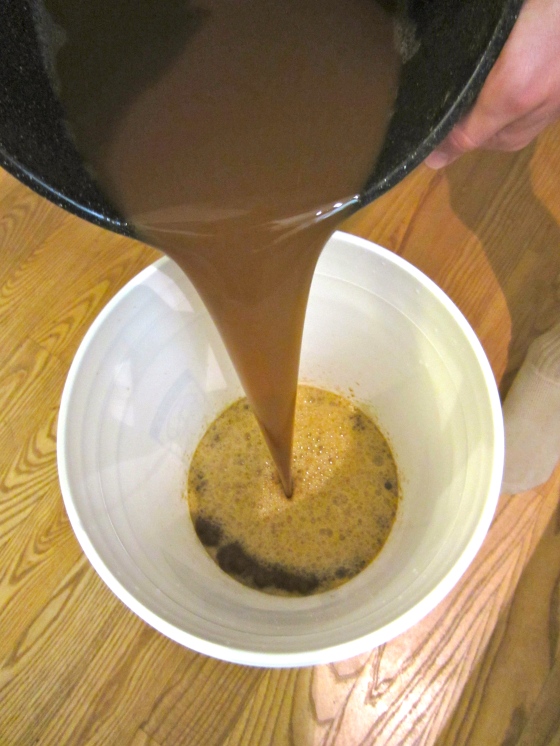
-Next, pour in the remaining 3 gallons of water.
-Now it’s showtime for the yeast. First, be sure that the temperature in the bucket is correct for the yeast. If it is too hot, your yeast will die. If it’s too cold, it will not activate. (Note: if you are uncomfortable deciding at what temperature to remove the wort from the water bath, always go hotter rather than cooler. When everything is in the bucket and it’s all 10 degrees too hot, it’s much easier to wait for it to cool than it is to heat it up again.) Once your temperature is correct, shake up the liquid yeast and pour it in. (If you’re using powder, follow the instructions on the package.)
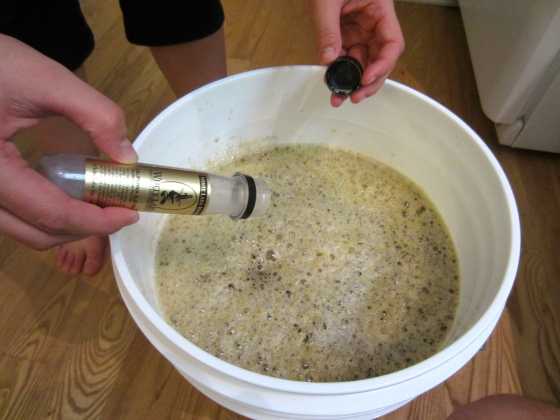
-Take one big sniff–the beer smells really good at this stage, and this is the last time you’ll get to smell it!
-Put the lid on the bucket.
-Using a dishrag to cover the hole in the lid, shake the whole bucket for as long as you can. I recommend finding someone else to do this part and then insisting that you just have to document their work very carefully. The more agitating, the better! Shoot for about 5 solid minutes.

-Fill the airlock bubbler about halfway full with water, place it in the hole on the top of the lid, and admire your handiwork! This is as much reward as you will get today.
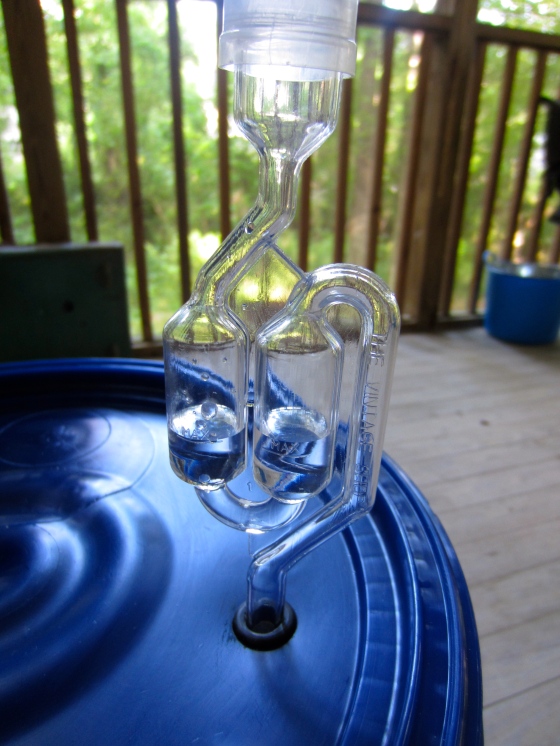
-Place the bucket somewhere our of direct sunlight where the temperature remains relatively steady. Leave it there. In 24 hours, the water in the airlock bubbler should be, well, bubbling! This means that you have not killed the yeast, and that you’re on the way to successful beer!
If all of these steps feel overwhelming, go visit a homebrew store. Read about brewing in the books that they have. Talk to someone who works there. (It does help to read first because then you know what questions to ask.) There are also brew kits on the market that combine all of the ingredients needed to make a particular kind of beer. I would recommend picking one of these up for your first try if you’re at all unsure or nervous. The result should be consistent and after that, you’ll be ready to play around with picking your own ingredients!


