 I’ve never made real cinnamon rolls with yeast before these, and I don’t think I’ll ever be the same again. Admittedly, this represents a life of luxury that is 100% untenable, but I decided while eating one of these cinnamon rolls that I would never eat anything else. Terrible, terrible idea, but I was ready to give up everything for those swirls of cinnamon sugar. Instead, I thought it wise to eat one and then foist them on my coworkers–spread the wealth or something like that.
 Yeasted cinnamon rolls are one of those things that just require a lot of time and attention. The dough is sticky and finnicky, and it has to rise twice–not to mention the rolling out, rolling up, and cutting of the rolls themselves. It’s the sort of thing that you should do the night before, or aim for brunch. You need coffee before tackling this project.
 Because cinnamon rolls are such a time-consuming endeavor, you’ll have lots of time to read a book, catch a nap, or troll celebrity gossip websites while you wait for the dough to rise. Not that I know anything about trolling celebrity gossip, that’s just an example. This is also the kind of breakfast that will impress the pants off of people, so plan to take these puppies out!
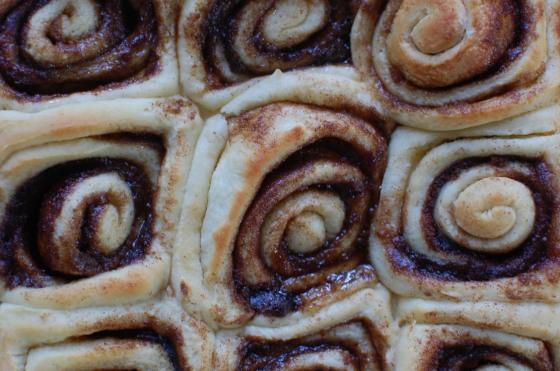
 Be warned: health food they are not. Butter and brown sugar are doing the real work, and the cinnamon offers its classic spiciness to the mix.
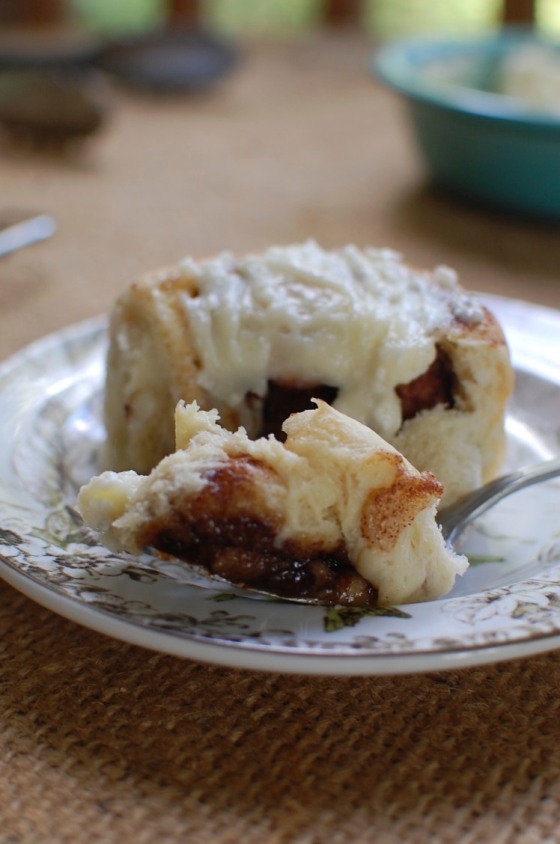
 By the time you’ve done all the proper waiting, and you’re just putting the pan of rolls into the oven, you’ll find ourself really, really hoping that they turn out okay. I mean, you’ve spent a lot of time making sure that you did all the right steps, you’ve already had to clean the table twice, your stomach is grumbling, and you’re maybe going to be late to brunch. But by the time you sit back down to your celeb gossip (ahem BOOK ahem), you’ll catch a whiff of the bubbly sugar, and you’ll know that you made the right choice.
 Yeasted Cinnamon Rolls:
(adapted from Joy the Baker and Smitten Kitchen)
Dough
1 cup whole milk
3 tablespoons unsalted butter
3 1/2 cups all-purpose flour
1/2 cup sugar
1 large egg
2 1/4 teaspoons active dry yeast (or one envelope)
1 teaspoon salt
Nonstick vegetable oil spray
Filling
3/4 cup (packed) golden brown sugar
2 tablespoons ground cinnamon
1/4 cup (1/2 stick) unsalted butter, at room temperature
Pinch of salt
Glaze
4 ounces cream cheese, at room temperature
1 cup powdered sugar
1/4 cup (1/2 stick) unsalted butter, room temperature
1/2 teaspoon vanilla extract
To begin, melt the butter for the dough in the microwave (or in a pot if you want to get all fancy). Then, combine the melted butter with the milk, and microwave both for 30-45 seconds, or until the mixture is warm. It should be between 105 and 115 degrees F, so it should feel warmer than your finger, but not hot. Combine the milk with the yeast in the bowl of a stand mixer fitted with the paddle attachment. Then, add one cup of the flour, the salt, sugar, and egg. Mix vigorously for a minute or until completely combined. Switch to the dough hook attachment.
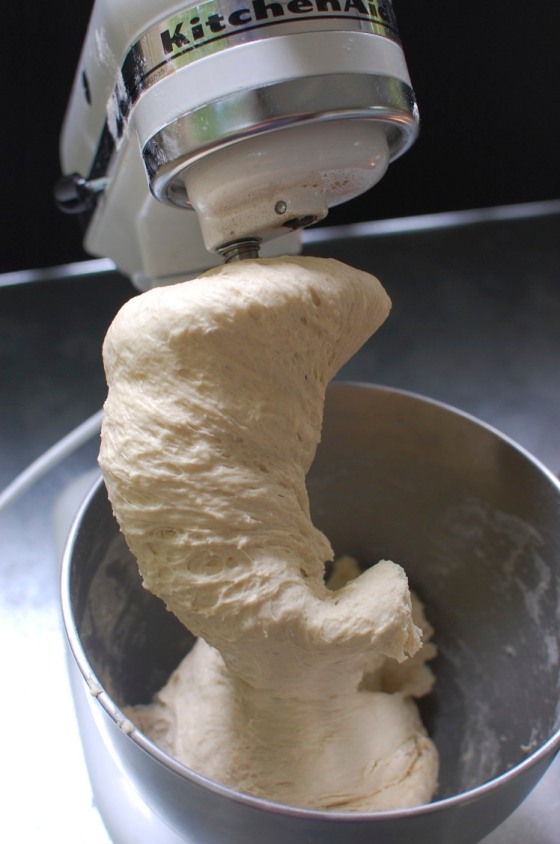
Slowly add the remaining flour, 1/2 cup at a time, mixing on low speed. When the dough is pulling away from the walls of the bowl and is not very sticky to the touch, take it out of the mixer, make it into a neat ball, and plop it into another bowl, coated with cooking spray. Turn the ball over once to cover it in oil, then cover the bowl gently with a tea towel and place it in a warm spot.
Let the dough rise for about 2 hours, or until doubled in size.
While the dough is rising, prep the filling. Make sure your butter is coming to room temperature, and mix together the brown sugar, cinnamon, and salt.
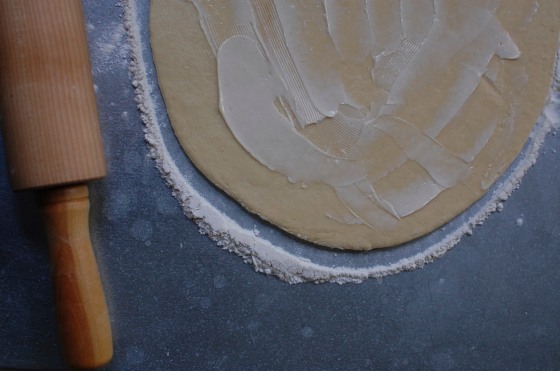
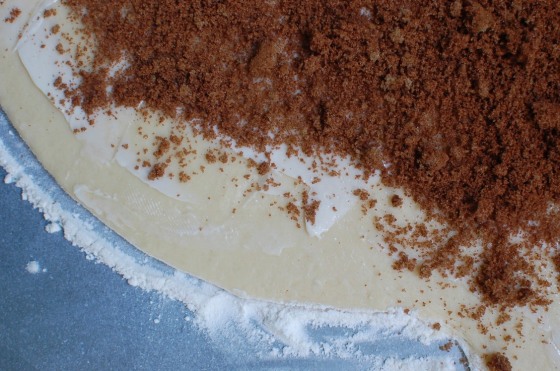
When it’s done rising, turn the dough out onto a lightly floured surface. Roll the dough out into a roughly rectangular shape. It should be about a quarter-inch thick. Using a butter knife of spatula, gently spread the room-temperature butter on the dough, leaving about a half-inch around the edges. Then, sprinkle the cinnamon sugar mixture over the butter.
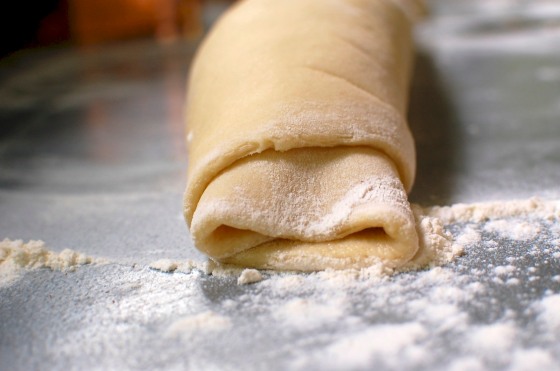
Using your fingers, start rolling from the long side of the dough rectangle, and be sure to gently pinch the roll together to keep it tightly rolled. When you’re done, place the seam side down on the table. Measure one inch increment on the log, and then use a sharp serrated knife to cut the rolls.
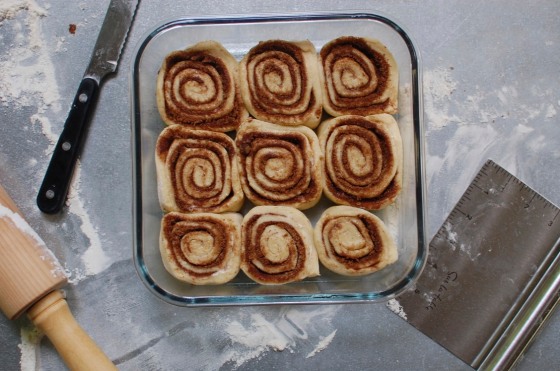
Place the rolls into a greased 8×8 baking dish. You should be able to fit nine, but it will be snug. For me, this recipe seems to make about a pan and a half (12-14 rolls). When they’re all in, cover the pans with a tea towel for their second rise. This time, they will almost double again, but it will take only 45-55 minutes. Make sure you give them time, the second rise is what makes them fluffy.
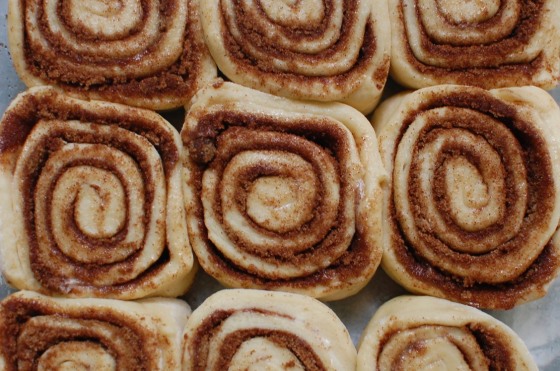
When they’re done rising again, preheat the oven to 375 degrees F and bake the rolls for 20 minutes, or until browned on top.
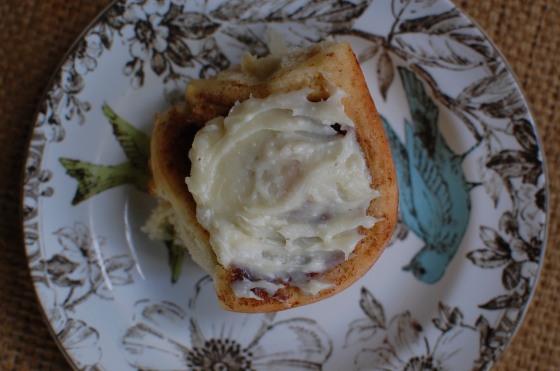
While the rolls are cooling, put the glaze together. Mix the room temperature butter and cream cheese with the powdered sugar and vanilla. That’s it!
Let the pans cool for at least 20 minutes, then glaze and serve (with coffee and a nap)!

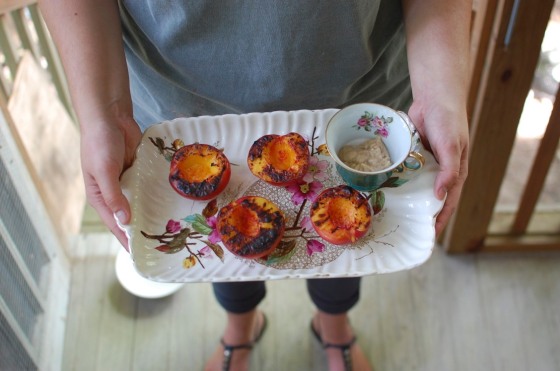

 To grill the peaches, wait until you’ve cooked everything else, and the grill is cooling down. (My grill was sort of too hot when I made these, but I couldn’t wait!) Brush a teeny bit of olive oil on the cut size of the peach, and put the same side face-down on the grate. It should only take a couple of minutes, so watch carefully.


